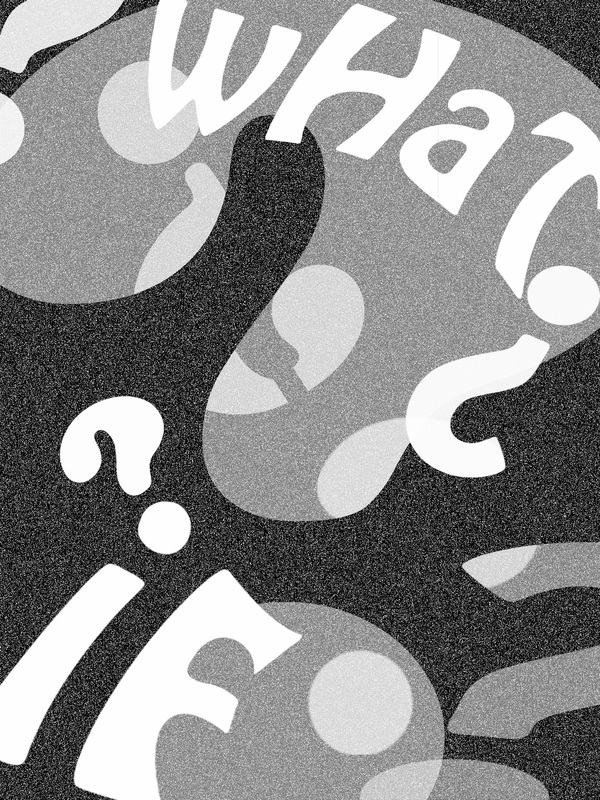
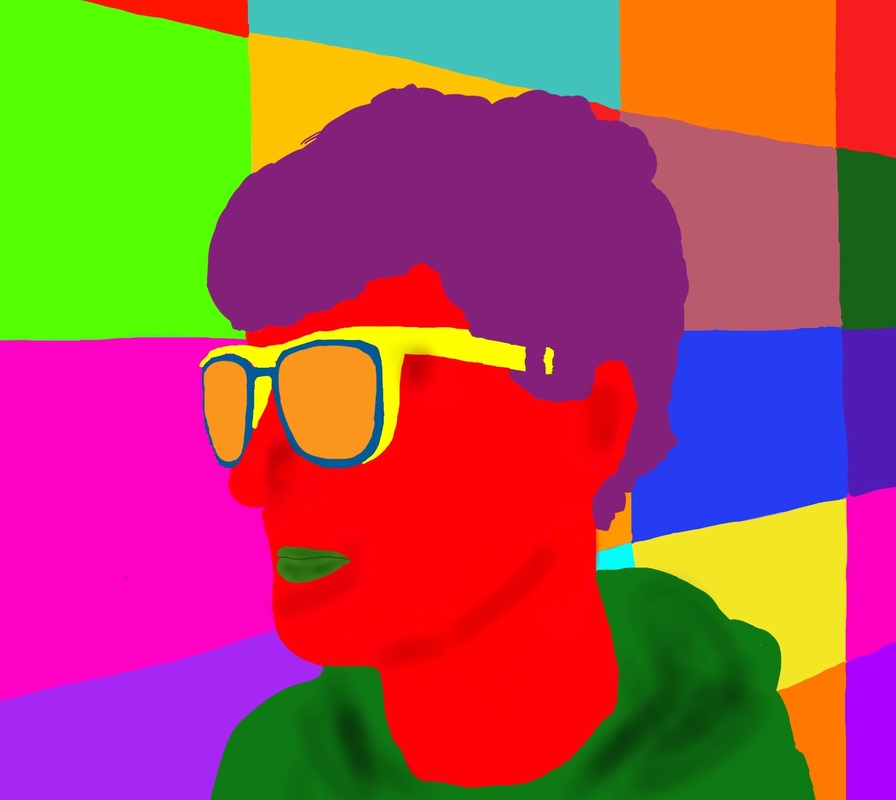
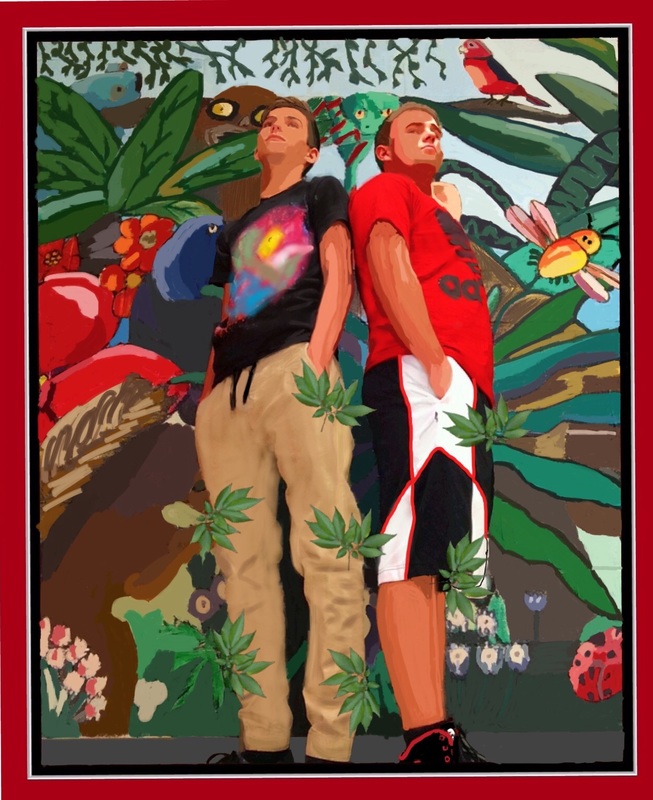
Week of May 15-19, 2017Learning Target: Create a graphic design poster that illustrates a topic that relates to your personal logo design. Utilize outstanding compositional techniques, high quality typography and creative images including your own drawings or photos.
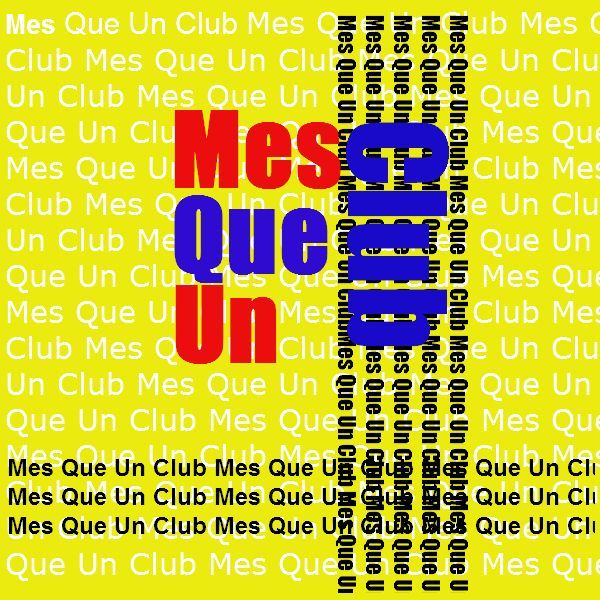
Tuesday 5/16 Final Logo Designs should be turned in digitally in the Google Folder for your class. Poster Design thumbnails (on paper) and Sketchbook rubric for your designs should have been turned in on Friday. Get started designing your poster. Use the app of your choice to create a poster design that incorporates your personal logo, typography, altered photographs and the other design elements discussed in the second half of the chapter. File Size vs Print Size File size on most of the apps is measured in pixels, but what if you want to print your poster? Print size should be 8 x 10 inches or 8.5 x 11 inches. How do I convert without having to do a lot of math (72 pixels per inch)? Click here for more on pixel to inches conversions. Thursday 5/18 Continue working on Final Poster designs making sure to incorporate your personal logo in the poster. Final Posters are due on Monday 5/22 Week of May 8-12, 2017Learning Target: Create a personal logo that represents you, your beliefs, values and/or personality. Connect to your life and the things you value, believe in and participate in. Research graphic design logos and their history in graphic design, also what makes a good logo.
Monday 5/8 Last day to work on your Personal Logo Design. Save as a jpg and put in the Final Logo Folder on Google Add your artist statement to the folder too, explaining your concept, design, craftsmanship and composition. Wednesday 5/10 Peer Critique of Logos
Friday 5/12 Begin working on the second half of the Chapter on Graphic Design posters. Use the app of your choice to create a poster design that incorporates your personal logo, typography, altered photographs and the other design elements discussed in the second half of the chapter. See link for details. Week of May 1-5, 2017 Learning Target: Create an animated character and develop a story for the character. Connect to the Principles of Animation and develop a storyline and composition that utilizes these principles. Present final animations in published form through oral and written critique process.
Tuesday 5/2 Critique of Animation Projects Have the following prepared for critique today.
Thursday 5/4 Design your own personal logo using your choice of apps. Save as a jpg and put in the Final Logo Folder on Google. A2 Folder A3 Folder Week of April 24-27, 2017Learning Target: Create a personal logo that represents you, your beliefs, values and/or personality. Connect to your life and the things you value, believe in and participate in. Research graphic design logos and their history in graphic design, also what makes a good logo.
Tuesday 4/25 Introduction to Graphic Design Unit
Thursday 4/27 Finish Research: Read and follow links for CH 5 Graphic Design Part 1 Logo Design.
Week of April 17-21, 2017Learning Target: Create an animated character and develop a story for the character. Connect to the Principles of Animation and develop a storyline and composition that utilizes these principles. Present final animations in published form.
Tuesday 4/18 Continue creating frames of your animation using the DoInk app, Sketchbook Pro, iMovie etc.
Critique will be Tuesday, May 3rd Thursday 4/20 FINISH your animation using the DoInk app, Sketchbook Pro, iMovie etc. TO ADD SOUND OR MUSIC YOU NEED TO USE iMovie Use Creative Commons or Copyright Free Music and Sound. Download the desired clip to the iPad and it will go to iTunes on the pad. In iMovie you can then access it. TRY THESE: The school has a subscription to: http://www.soundzabound.com/ Username: pewaukee Password: pirates1 Another to try, but school doesn't subscribe: https://www.freesound.org/ Reminders for Today
Week of April 3-7, 2017Learning Target: Create an animated character and develop a story for the character. Connect to the Principles of Animation and develop a storyline and composition that utilizes these principles. Present final animations in published form.
Tuesday 4/4 & Thursday 4/6 Continue creating frames of your animation using the DoInk app, Sketchbook Pro, iMovie etc.
Week of March 27-31, 2017Learning Target: Create an animated character and develop a story for the character. Connect to the Principles of Animation and develop a storyline and composition that utilizes these principles. Present final animations in published form.
Monday 3/27 Begin animation demo of Doink Drawing and Animation app. Discuss differences. How to manage work time. Wednesday 3/29 and Friday 3/31 Continue creating frames of your animation using the DoInk app, Sketchbook Pro, iMovie etc.
DoInk App TutorialsWeek of March 20-24, 2017Learning Target: Create an animated character and develop a story for the character. Connect to the Principles of Animation and develop a storyline and composition that utilizes these principles. Present final animations in published form.
Tuesday 3/21 Continue with Chapter 4
Thursday 3/23 Conference with Mr. Lamp to discuss your plans for the animation project. Make sure you have all of the items listed above for this conference. Animation Vocabulary to Know and Use Throughout this Unitpan, panning- horizontal camera movement, shows a wide view of the scene.
tilt, tilting- vertical camera movement, shows a tall vertical view of the the scene, shows height. zoom in(ZI)- camera gets close to the, crops out much of the background zoom out(ZO)- camera gets further from subject, shows more of the scene or background. long shot(LS)- very long view shows the expanse of the scene mid-shot(MS)- medium length shot shows some of the scene, but also has closer subject. close up (CU)- shows the subject very close and zoomed in. extreme close up (ECU)- shows the subject Week of March 13-17, 2017Monday 3/13
Students will continue working on their button designs for the Pewaukee Kiwanis RiverRun. This will be the last day in class to complete the button designs. Designs must be uploaded to the shared "Final Button Design" Google folder. Wednesday 3/15 Critique Day There should be 3 things turned in for critique in the Google Folder for your class.
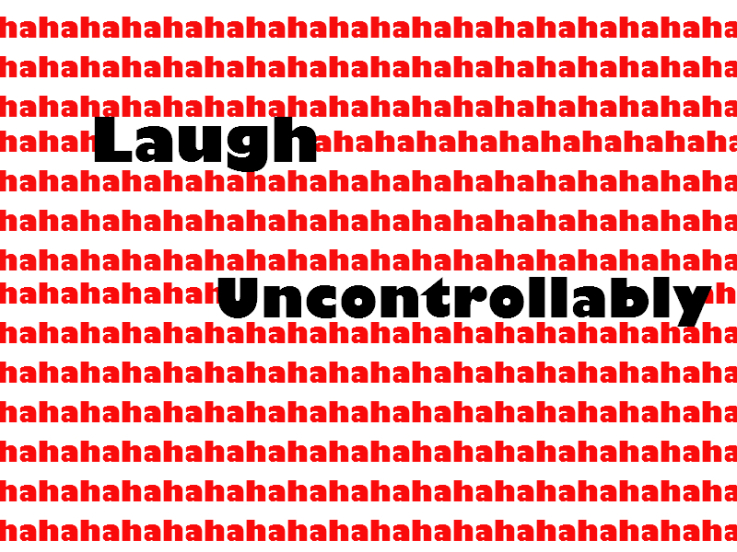
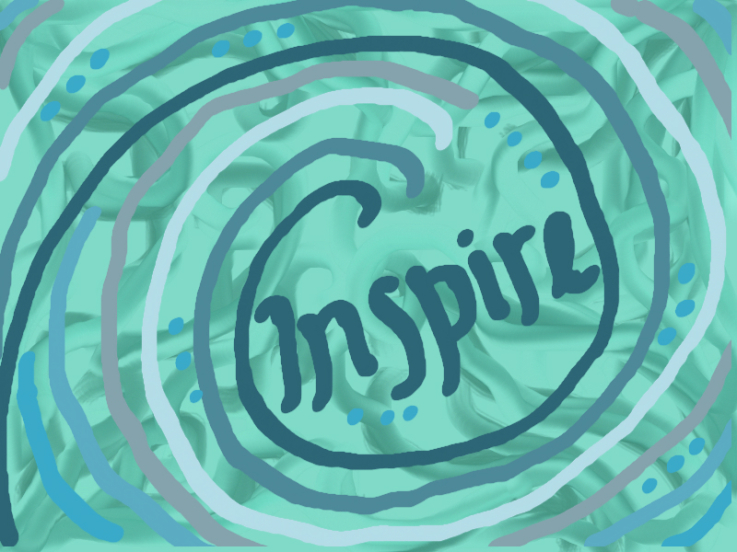
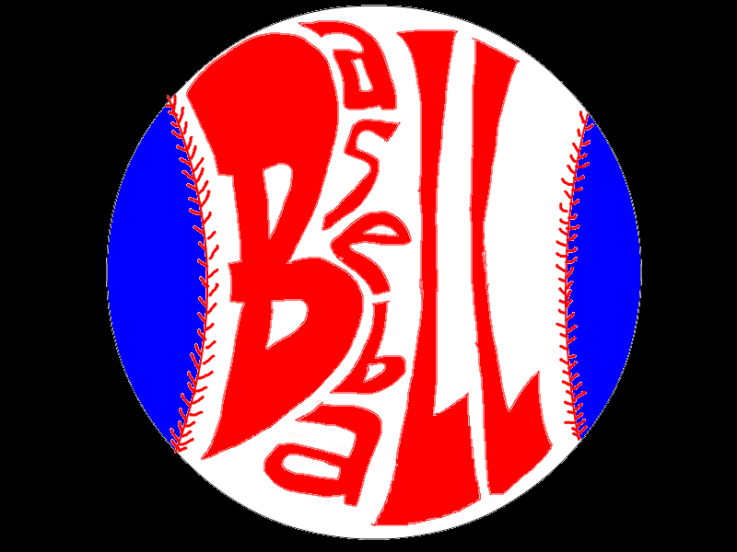
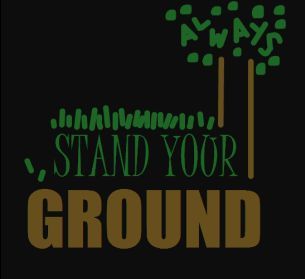
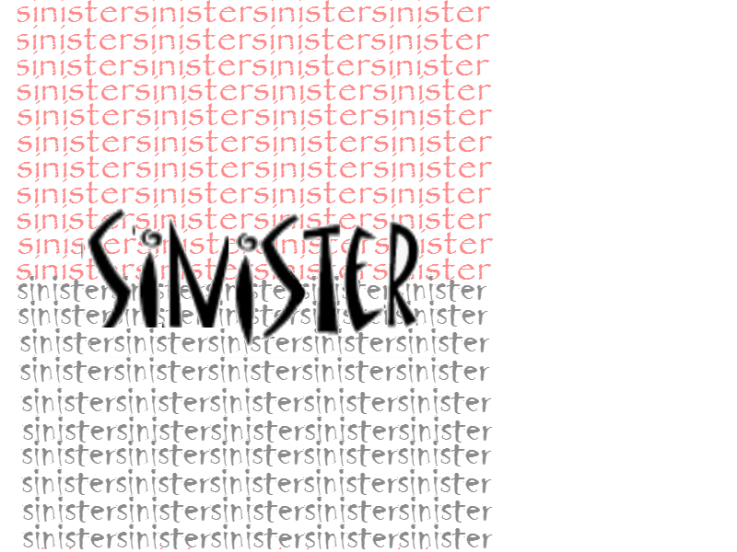
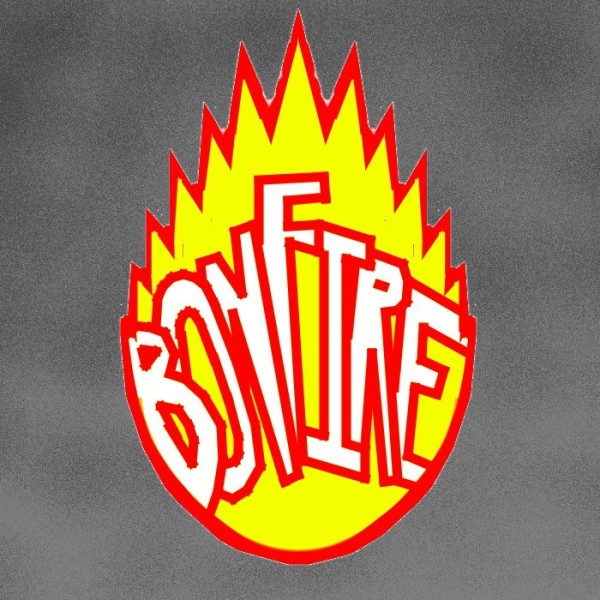
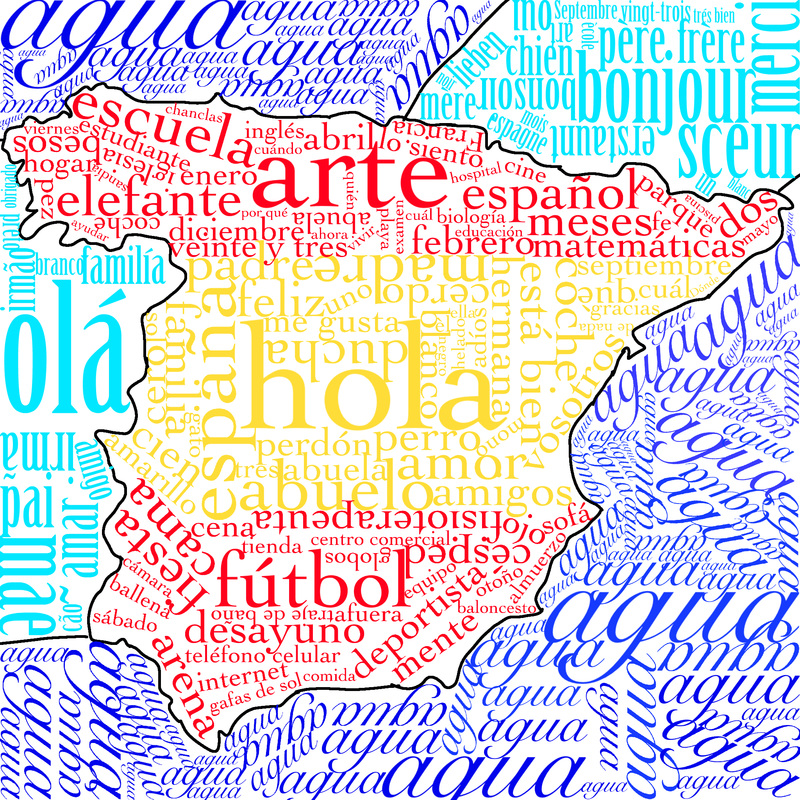
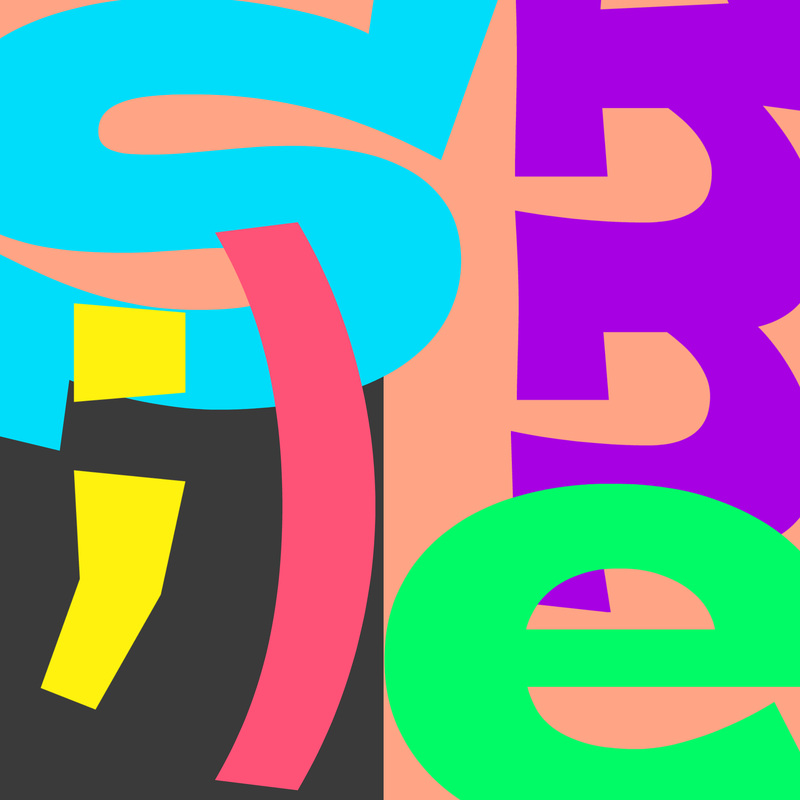
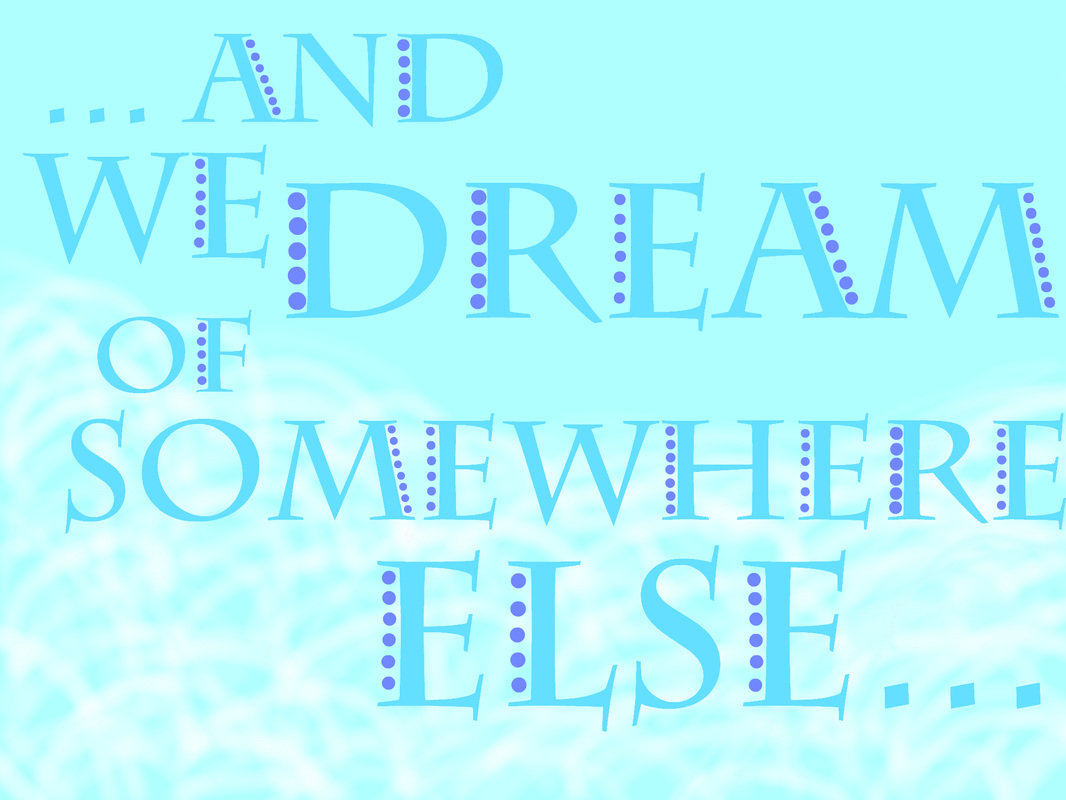
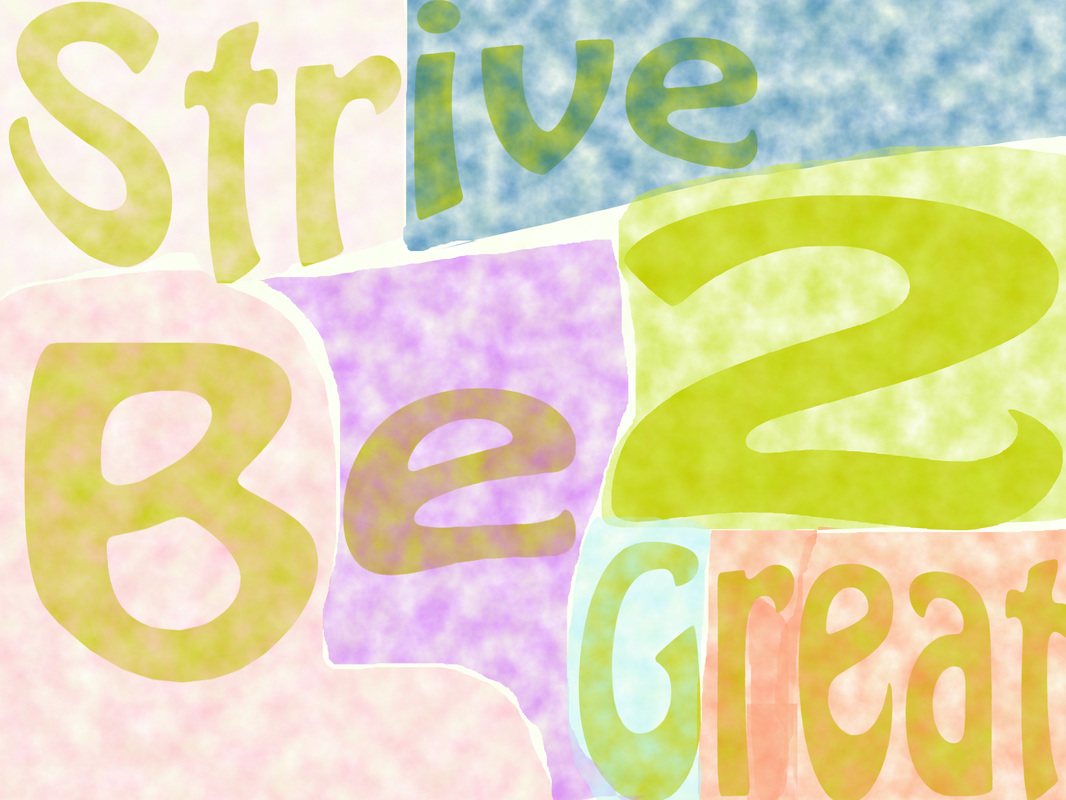
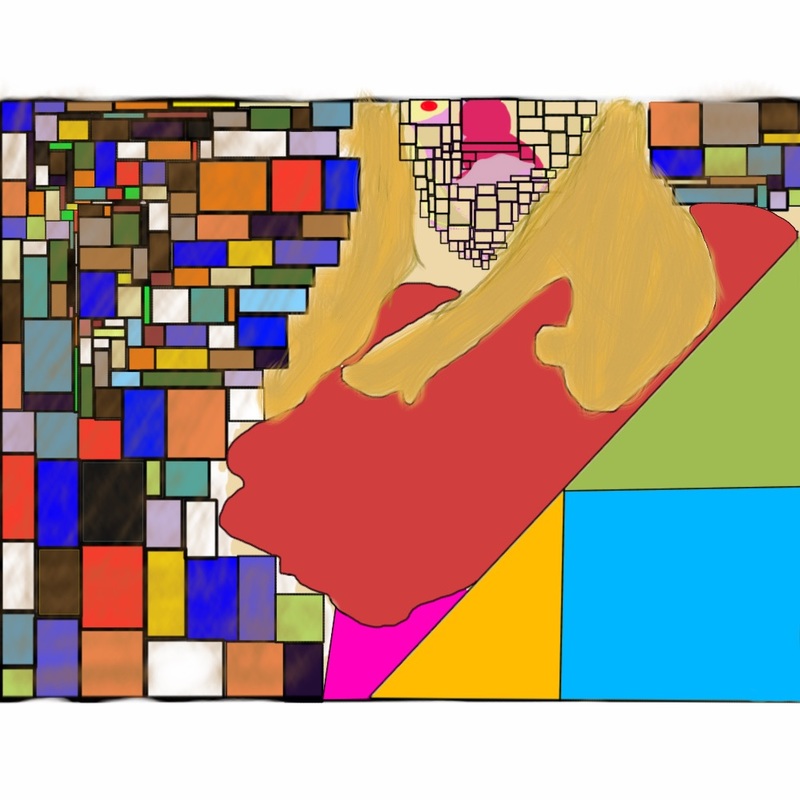
Friday 3/17 Introduction to Chapter 4 in iBook- Visual Story Telling Create a Google Doc to take notes on the chapter. Name the notes lastname-firstname-aninotes.doc and put in the Google Folder called Ch 4 Research Notes. Answer the questions from Chapter Four on Google Classroom. Today's Meet Link on Google Classroom page. Week of March 6-10, 2017Learning Target: Create an image that utilizes only type, color and shape as its design elements. Research the history of typography as a graphic design element. Present & Respond to finished typography designs through oral and written critique process.
Monday 3/6 Work days to complete Typography final designs. Make sure your final design meets the criteria of the assignment: complex composition that using positive/negative space, uses shape, color and type only (no pictures). Critique is Wednesday, March 8th If finished save your final image as a jpg file:named last name-firstname-type.jpg. Wednesday 3/8 Students will be introduced to the Pewaukee Kiwanis RiverRun button design project. Mr. Lamp shared a button template and will demonstrate how to begin the button design using the template. Button Text Requirements: •2017 •44th Annual Pewaukee Kiwanis RiverRun •A New Start Event Details •The RiverRun is an annual event put on by the Pewaukee Kiwanis •Participants race on the Pewaukee River in kayaks and canoes Imagery Ideas •Keep it simple and bold •Use the theme “A New Start” and create images based on the theme •Use imagery associated with canoes and kayaks on a river Week of February 27 - March 3, 2017Learning Target: Create an image that utilizes only type, color and shape as its design elements. Research the history of typography as a graphic design element.
Thursday 3/2 Work days to complete Typography final designs. Make sure your final design meets the criteria of the assignment: complex composition that using positive/negative space, uses shape, color and type only (no pictures). Critique is Wednesday, March 8th If finished save your final image as a jpg file:named last name-firstname-type.jpg. Week of February 20-24, 2017Learning Target: Create an image that utilizes only type, color and shape as its design elements. Research the history of typography as a graphic design element.
Tuesday 2/21 Introduction to New Project Chapter 3 in iBook. Finish research on Typography. Add research thumbnail idea sketches to Google Folder for your class. Use Adobe Photoshop Touch (not Sumopaint as the book says to do) to create your thumbnails.
Thursday 2/23 Finished thumbnails and research should be turned into the Google Folder for your class. Complete a Sketchbook Rubric and meet with Mr. Lamp. Turn in your rubric. (make sure your name and A1 are written on the rubric) DUE TODAY! Begin developing your typography project. Make sure you choose the correct size and orientation for the document. If you want a Vertical design the width of your document should be the small pixel size. Week of February 13-17, 2017Learning Target: Connect & Respond to Art Historical movements and styles through research. Present & Respond to finished self portraits through oral and written critique process.
Monday 2/13 Work days to complete your self portraits. To prepare for Wednesday's Critique Have the following ready.
Wednesday, February 15 Wednesday 2/15 Critique of Selfies Have the following ready.
Friday 2/17 Follow up to Critique Parent Communication Letter.
Learning Target: Create an image that utilizes only type, color and shape as its design elements. Research the history of typography as a graphic design element. Friday 2/17 Introduction to New Project Chapter 3 in iBook. Finish research on Typography. Add research thumbnail idea sketches to Google Folder for your class. Use Adobe Photoshop Touch (not Sumopaint as the book says to do) to create your thumbnails.
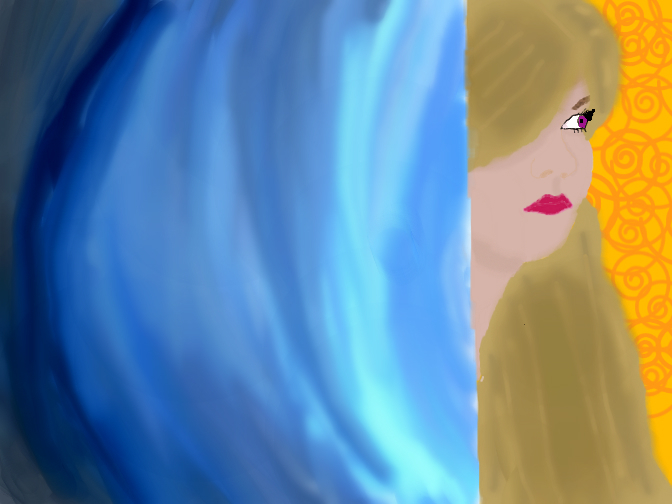
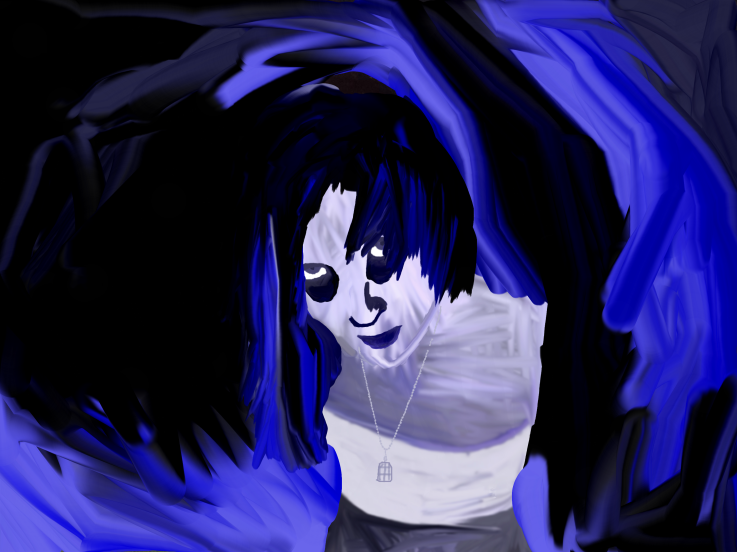
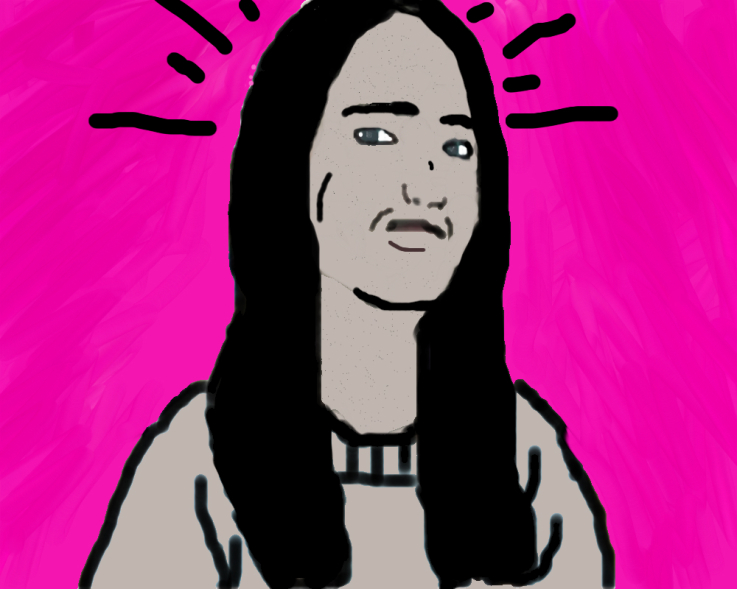
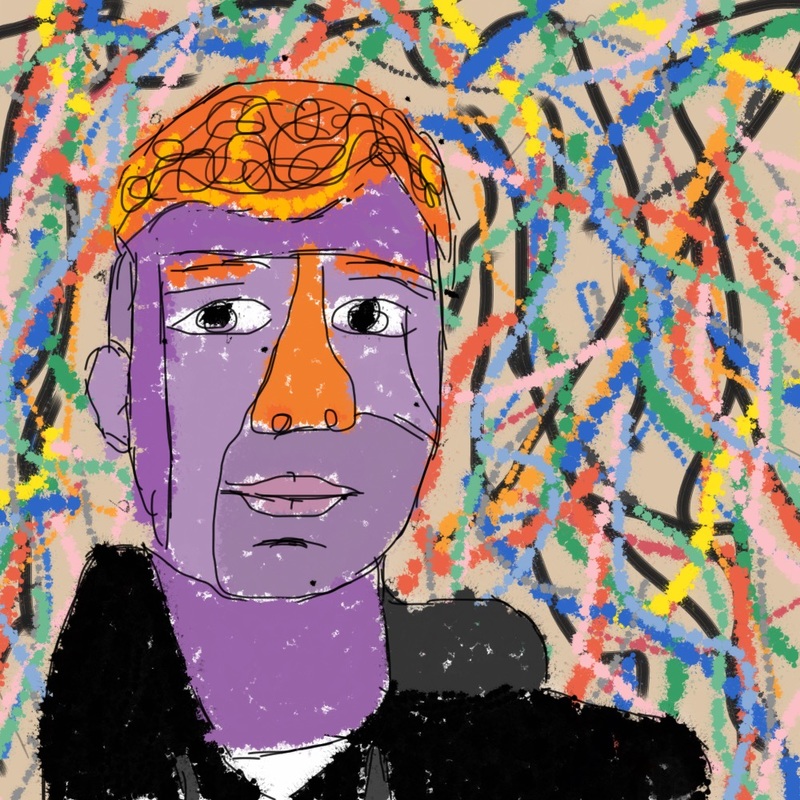
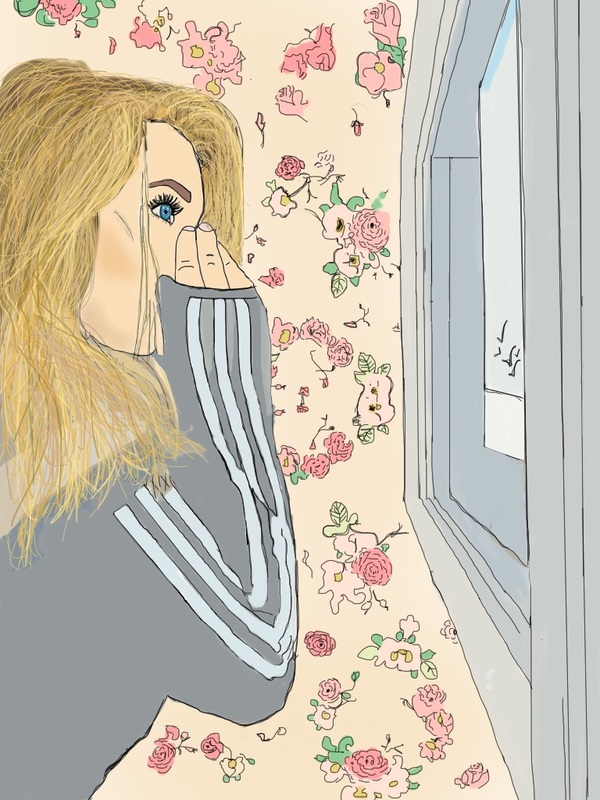
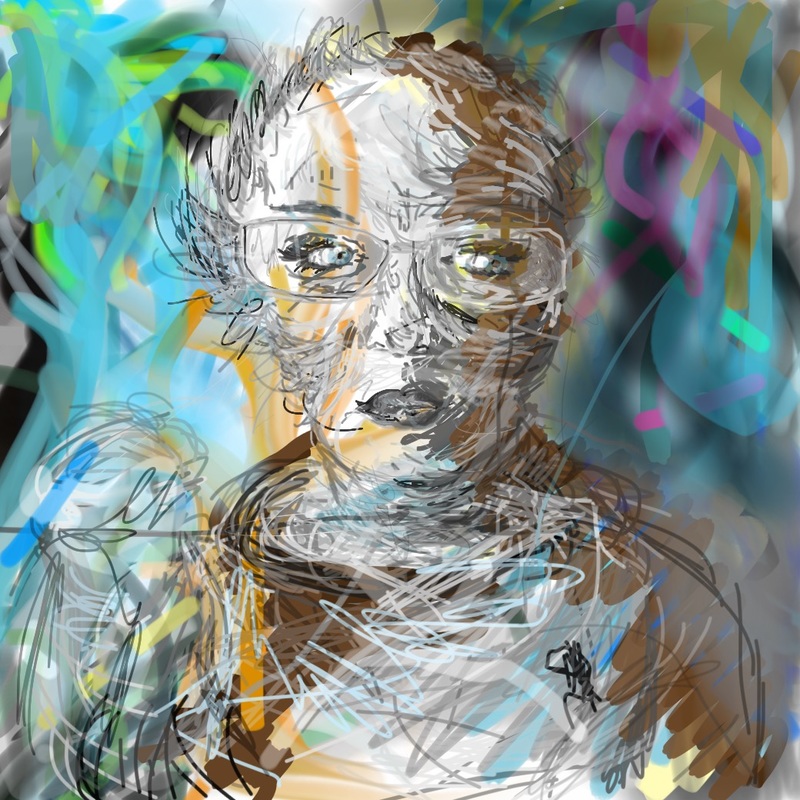
Typography DesignsWeek of February 6-10, 2017Learning Target: Create a unique self portrait that emulates a historical artist's style and uses photography as the starting point. Develop a digital image further through painting/drawing techniques. Connect & Respond to Art Historical movements and styles through research.
Tuesday 2/7 Work days to complete your self portraits. To prepare for Wednesday's Critique Have the following ready.
Wednesday, February 15 Thursday 2/9 Work days to complete your self portraits. To prepare for Wednesday's Critique Have the following ready.
Wednesday, February 15 Week of January 30 - February 3, 2017Learning Target: Create a unique self portrait that emulates a historical artist's style and uses photography as the starting point. Develop a digital image further through painting/drawing techniques. Connect & Respond to Art Historical movements and styles through research.
Monday 1/30 Getting Started with Self Portraits
Work Day for Self Portraits
Demonstration of Sketchbook Pro techniques Continue working on your self portrait painted images using the style of the master artist you've chosen. Remember to work in layers and save often. Week of January 23-27, 2017Tuesday 1/24
Introduction to Class
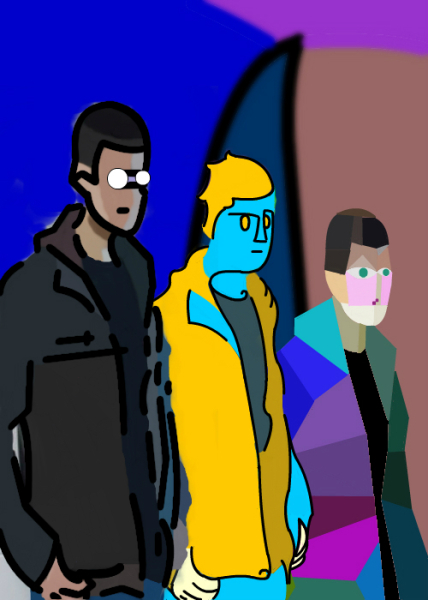
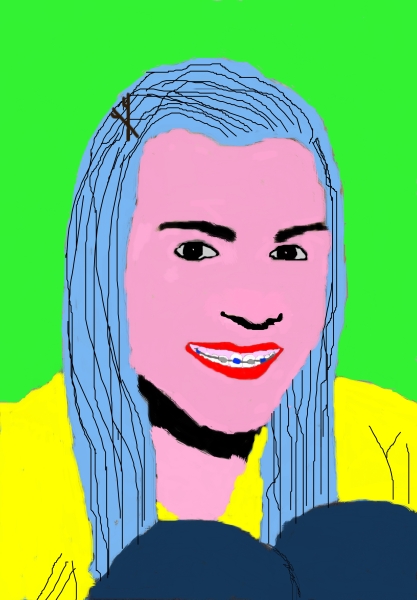
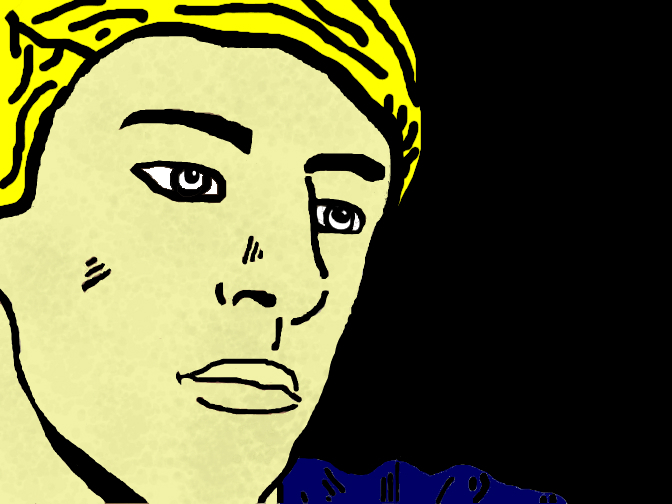
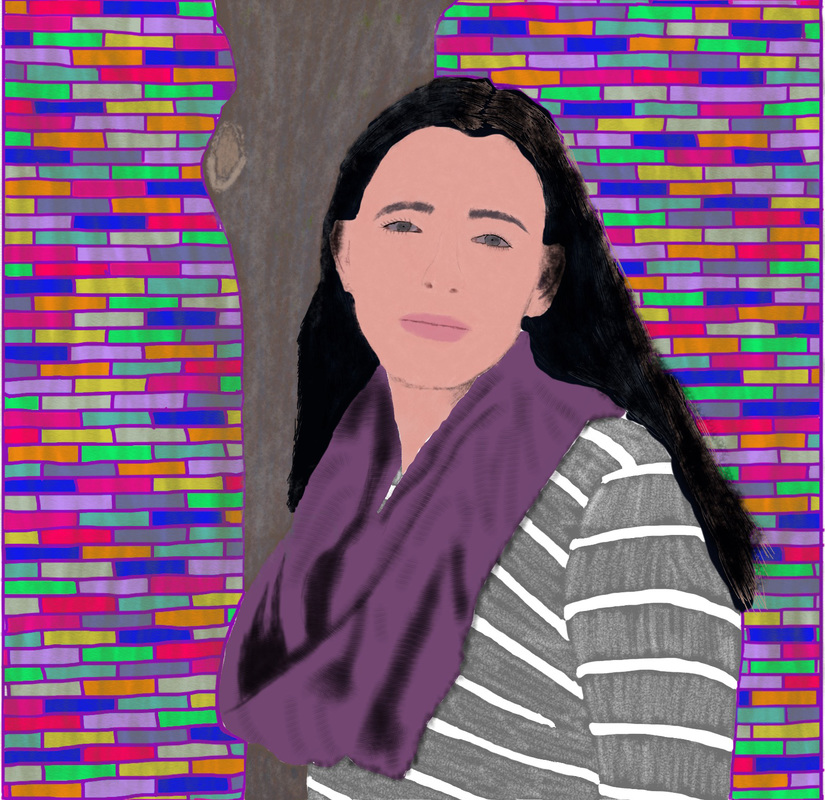
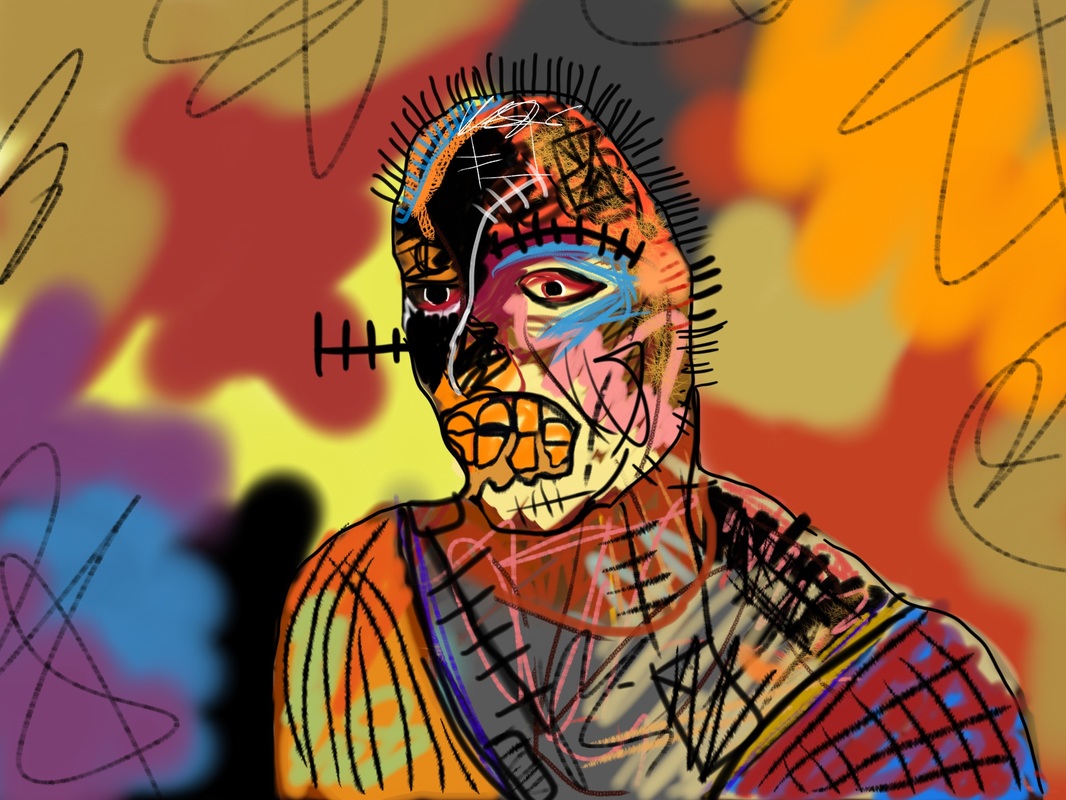
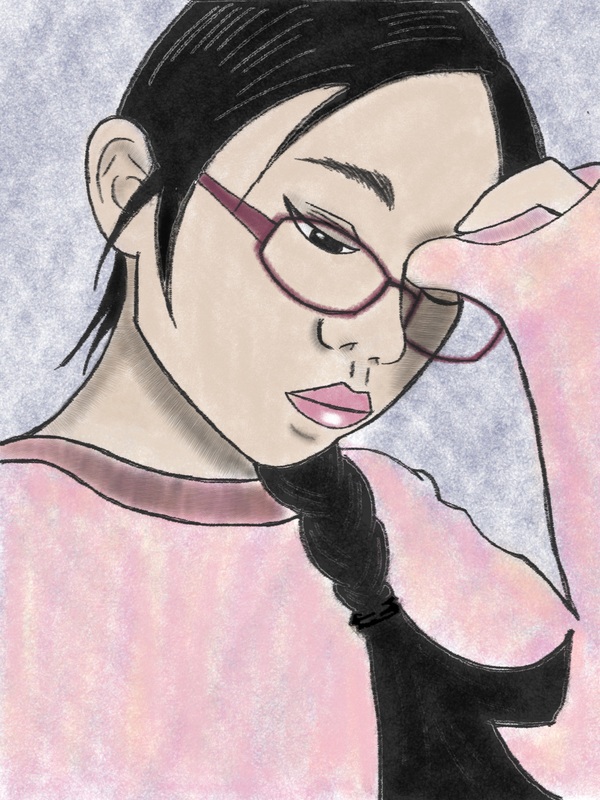
REMEMBER TO GET YOUR TECHNOLOGY CONTRACT SIGNED AND RETURN TO SCHOOL ASAP!! Chapter 2 Selfies:Everyone Does ThemLearning Target: Create a unique self portrait that emulates a historical artist's style and uses photography as the starting point. Develop a digital image further through painting/drawing techniques. Connect & Respond to Art Historical movements and styles through research.
Thursday 1/26 & Monday 1/30 You will be doing research to get started on this project. See your iBook for details. Once you've decided on which artist you will choose you will need to fill in your name on the Google Doc to reserve that artist for you. Once an artist is taken by someone in class you will need to find another. There are enough for all! Artist Link Google Doc Research Links http://www.wikipaintings.org/ http://www.metmuseum.org/toah/ http://smarthistory.org https://www.artsy.net http://www.artbabble.org Student Selfies GalleryWeek of January 16 - 20Learning Target: Create a 3-5 MINUTE digital video presentation of your entire portfolio of Digital Media works along with a verbal summation of how you met the class criteria. Present the digital portfolio as a final summative exam that synthesizes and evaluates your development as a digital artist. It MUST be created using iPad iMovie app. Turn in your final exported video in the Google Drive Folder for your class called FINAL EXAM
MONDAY: Last in class day to work on Final Exam presentation. Due for Exam on Wednesday!!!
Wednesday: Exam A1 7:50- Make sure your final presentation is posted on the Google Drive Folder Called FINAL EXAM. Week of January 9 - 13Learning Target: Create a 3-5 MINUTE digital video presentation of your entire portfolio of Digital Media works along with a verbal summation of how you met the class criteria. Present the digital portfolio as a final summative exam that synthesizes and evaluates your development as a digital artist. It MUST be created using iPad iMovie app. Turn in your final exported video in the Google Drive Folder for your class called FINAL EXAM
TUESDAY/THURSDAY: Last day to turn in any late, missing or incomplete work is Friday January 13th.
|
Getting StartedLearning Targets: Create and Explore our digital work environment setting up digital accounts.
Research what art is, comparing digital to traditional art. We will be setting up our online and in class room learning environment in the first days of class. You will want to bookmark the following:
For daily class you need your laptop and you also will need a number two pencil. We will be using Evernote app and Sketchbook Pro app to take notes. You can also use Google Docs to create notes for this class. A physical sketchbook isn't necessary. Link to iBook for ClassIf you would like to access the iBook we're using in class you can use the following link. The book is free in the iTunes store.
https://itunes.apple.com/us/book/introduction-to-digital-media/id959437805?mt=13 Assessment in This ClassAs always the artwork you create and the way you present it will influence the grades you receive in this class. We are in our second year as a district using Standards Based Grading. With each unit you will see a highly detailed form that describes the assignment and shows what Reportable Standards and Priority Standards are being covered in the unit. As we've done in the past you will participate in the critique process, which involves presenting your finished artwork and evaluating it in verbal and written form.
Writing An Artist StatementStudents will be required to submit an artist statement that follows the "ITS CLEAR" method for all art work.
Click here to view the ITS CLEAR PowerPoint Click here for an artist statement writing template Google Apps on iPadOn the iPads there are several ways to use Google that you need to be aware of. Google has split their various services into separate apps instead of having them all together. This is important to understand as you will be jump from app to app if you use them on the iPad.
Links That Might Inspire You!What is Graphic Design?
Graphic Design Career Guide AIGA Getting Started In Graphic Design Good Logo History of Graphic Design Elements of Design Principles of Design Principles of Design Emigre Font and Design Site Worth 1000 Amazing Photos and Photoshop Images Petapixel Photojojo Pinboards on Design Mrs. Bjork's Pinboard on Animation and Video Mrs. Bjork's Pinboard on Photography Mrs. Bjork's Pinboard on Design & Illustration Mrs. Bjork's Pinboard on Typography Mrs. Bjork's Pinboard on The History of Graphic Design Mrs. Bjork's Pinboard on Proportion Mrs. Bjork's Pinboard on Color Designs |
|
|

-
Home
- Home Fall 2023-24
-
Home Spring 2023 - Nov 2023
>
- Home January 2023- April 2023
- Home end of 2022 into Fall 2022
- Home Feb-April 2022
- Home-Archive Dec - Feb 2022
- Home-Archive Fall 2021-December 2021
- Home-Archive Spring 2021-October 2021
- Home Archive Fall 2020-March 21
- Home Jan 2020-August 2020
- Home Fall 2019 - Feb 18, 2020
- Home Archive 2018-March 2019
- Home Archive Summer 2018-First Semester 2019
- Home Archive Spring Summer 2018
- Home-Archive January - May 2018
- Home-Archive First Semester 2017-18
- Home-Archive May-August 2017
- Home-Archive Term 4 2017
- Home-Archive Term 4 2017
- Home-Archive Term2/3 2016
- Home-End of Year 2016
- Home Archive Fall 2015- January 5, 2016
- Home Archive December 2016
- Home-Archive May-Aug 2016
- Home-Archive April-May 16
- HomeArchive- Winter - April 2016
- Home-2016 Jan-Feb12 Archive
- Home- Back to School September 2015
- Home-Term 6 2015 Archive through August 10th
- Home-Term 5 Archive Through Sprng Break 2015
- Home-June 2014 Archive
- Home-Term 4 Archive 2015
- Home-Term 3 Archive 2014
- Home-Term Two Archive 2014
- Home-Term One 2014 Archive
- Home-Aug to September 2014 Archive
- Home-March 2014 Archive
- Home-February 2014
- Home January 2014 Archive
- Professional Development
- Blog
- Standards Based Grading
- Syllabus
-
Classes
-
Introduction to Art
>
- Introduction to Art Assignments
-
Art Fundamentals
>
-
Art Fundamentals Assignments
>
- Unit One: Line
- Unit Two: Positive and Negative Space
- Unit Three: Color
- Unit Four: 3 Dimensional Design-Creature Feature
- AF- Color and Its Meaning
- Unit Five: Digital Self-Portrait
- Sumopaint Digital Self Portrait Assignment
- Unit Six: Clay Vessel
- Unit Seven: Cartooning
- Unit Eight: Reduction Printmaking
- Art Fundamentals Exam Details
-
Art Fundamentals Assignments
>
- Introduction to Digital Media >
- Animation-Experimental Video >
- Graphic Design >
- Digital Photography 1 >
- Digital Photography 2 >
- Digital Illustration
- Drawing 1 >
- Painting 1 >
-
Drawing 2 / Painting 2
>
- Drawing 2-Painting 2 Assignments
- Drawing 2/ Painting 2 Alt Media Fiber Arts
- Drawing 2/ Painting 2 Alt Media Encaustic
- Drawing 2/ Painting 2 Collage
- Drawing 2/ Painting 2 Alt Media Alternative Mark-Making-Invented Tool
- Drawing 2-Painting 2-Alt Media-Printmaking
- Archive 2015-16 Drawing 2/ Painting 2 Assignments >
- Sculpture 1 >
- Sculpture 2 >
- AP Studio Art >
- Art History >
-
AP Art History
>
-
Introduction to Art
>
- Art Club
- Travel to Italy
- Wikis
- College & Career
- Inspirations
- Advocacy
- Teacher Resources
- Wiki-Composition and Focus
- Virtual and Online Learning Resources
- A Day in Your Life: Quarantine Realities